Your car’s interior is one of the most important parts of your vehicle. It’s where you spend most of your time when you’re driving, and it can make a big difference in how comfortable and enjoyable your car is to drive.
But over time, your car’s interior can get dirty and worn-out. That’s where DIY interior detailing comes in. With a little time and effort, you can easily clean and detail your car’s interior yourself, and save a lot of money in the process.
In this blog post, we’ll walk you through the steps of DIY interior detailing, from start to finish. We’ll also provide you with a list of the essential tools and products you’ll need, as well as some tips for getting a professional finish.
The Benefits of DIY Interior Detailing

There are many benefits to DIY interior detailing, including:
- Save money: Hiring a professional detailer can be expensive. DIY interior detailing can save you a lot of money, especially if you do it regularly.
- Customize your car: When you DIY interior detailing, you can choose the products and methods that work best for you and your car. This means you can customize your car’s interior to your own taste.
- Use the right tools and products: When you DIY interior detailing, you can use the right tools and products for the job. This will help you to get the best results and protect your car’s interior.
- Get a professional finish: With a little practice, you can get a professional finish on your DIY interior detailing. This will make your car’s interior look and feel its best.
The Tools and Materials You’ll Need
The following are the essential tools and materials you’ll need for DIY interior detailing:
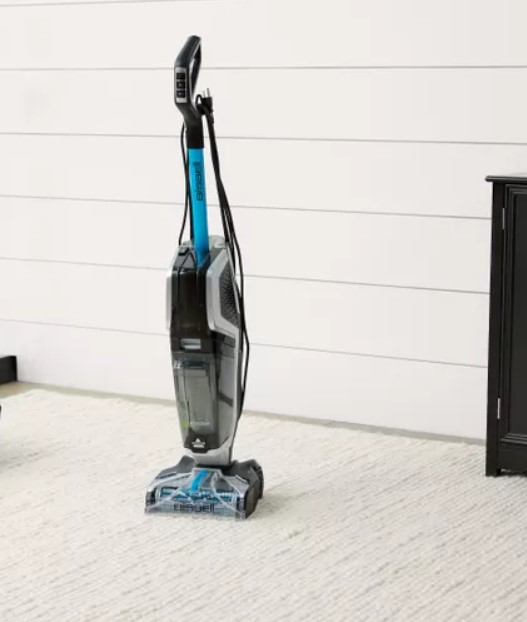
- Vacuum cleaner: A powerful vacuum cleaner with a crevice tool is essential for cleaning your car’s interior. You can use a vacuum cleaner like the Hoover WindTunnel Max Upright Vacuum Cleaner, which is affordable and has a crevice tool to get into all the nooks and crannies. Alternatively, you can use the Bissell CleanView Upright Vacuum Cleaner, which is also affordable and has a crevice tool.
- Microfiber cloths: Microfiber cloths are soft and absorbent, and they won’t scratch your car’s interior. You can use a set of microfiber cloths like The Rag Company Eagle Edgeless Microfiber Cleaning Cloths, which are available in a variety of colors so you can color-code them for different tasks. Alternatively, you can use the Chemical Guys Microfiber Wash Mitts, which are also soft and absorbent.
- Interior detailer: An interior detailer is a mild cleaner that’s safe to use on all surfaces in your car’s interior. You can use an interior detailer like the Meguiar’s Ultimate Interior Cleaner, which is safe to use on all surfaces and leaves a fresh, clean scent. Alternatively, you can use the Turtle Wax Ice Seal & Protectant, which is also a water-based protectant that leaves a clear, invisible finish. It can protect against UV rays, fading, and scratches.
- Leather cleaner: If your car has leather seats, you’ll need a leather cleaner to keep them looking and feeling their best. You can use a leather cleaner like the Turtle Wax Leather Care Kit, which includes a cleaner, conditioner, and protectant. Alternatively, you can use the Minwax Wood Finish Wipe-On Polyurethane, which is safe to use on all types of wood and leaves a beautiful, natural finish.
- Carpet cleaner: If your car has carpeted floors, you’ll need a carpet cleaner to remove dirt, stains, and odors. You can use a carpet cleaner like the Bissell SpotClean Pet Portable Carpet Cleaner, which is easy to use and can remove even the toughest stains. It also has a HEPA filter that captures dirt and dust, so it won’t blow them back into the air. Alternatively, you can use the Hoover Steam Cleaner, which is a more powerful carpet cleaner that can also be used to clean other surfaces in your car.
- Steam cleaner: A steam cleaner can be helpful for removing tough stains and messes. You can use a steam cleaner like the Bissell Steam Shot, which is small and portable, making it easy to get into tight spaces. Alternatively, you can use the McCulloch MC1375 Heavy-Duty Steam Cleaner, which is more powerful and can be used to clean larger areas.
- Wood polish: If your car has wood trim, you’ll need a wood polish to keep it looking its best. You can use a wood polish like the Howard Restor-A-Finish, which is safe to use on all types of wood and leaves a deep, rich shine. Alternatively, you can use the Minwax Wood Finish Wipe-On Polyurethane, which is also safe to use on all types of wood and leaves a beautiful, natural finish.
Step-by-Step Instructions
Here are the step-by-step instructions for DIY interior detailing:
- Vacuum the interior thoroughly. Use a vacuum cleaner with a crevice tool to get into all the nooks and crannies. Be sure to vacuum the floor mats, seats, carpets, dashboard, and door panels.

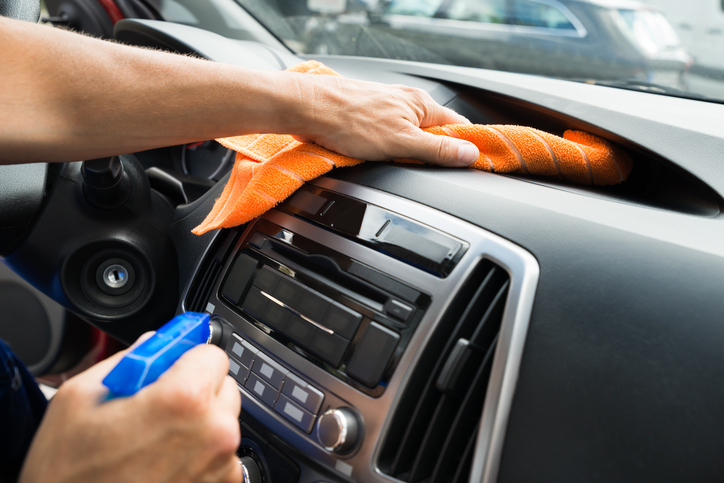
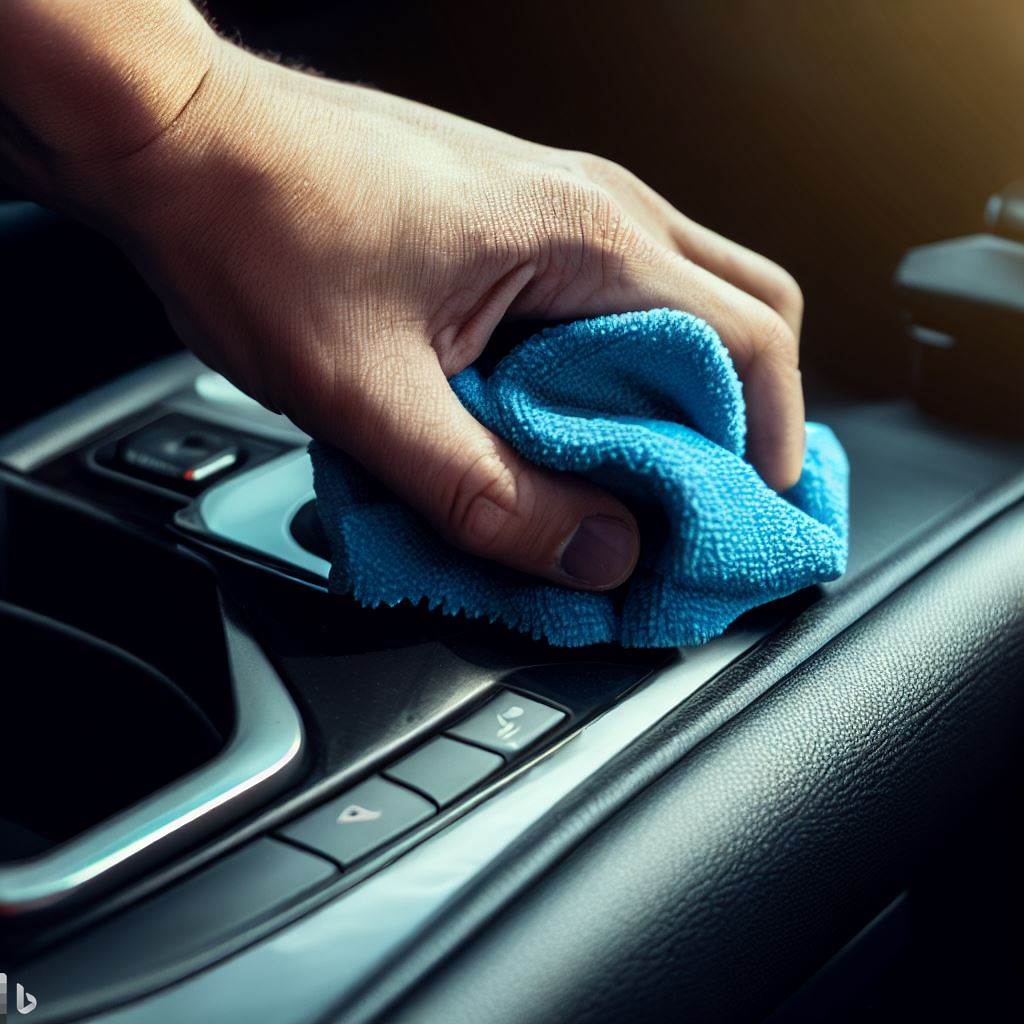
- Wipe down the surfaces with interior detailer. Use a microfiber cloth to wipe down all the surfaces in your car’s interior, including the dashboard, seats, carpets, and door panels. Be sure to use a mild interior detailer that’s safe for all surfaces.
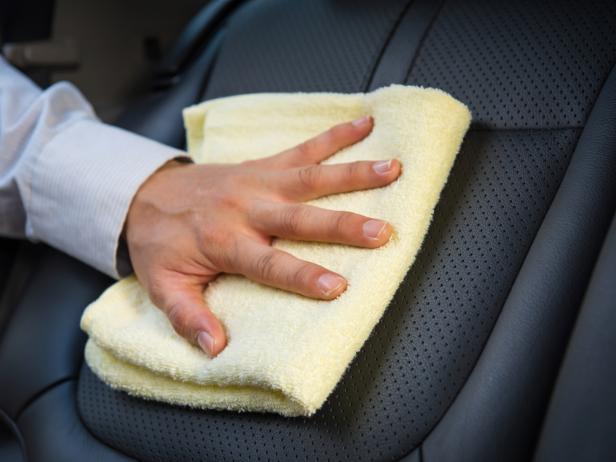
- Clean the leather seats. If your car has leather seats, use a leather cleaner to remove dirt, stains, and odors. Be sure to follow the instructions on the leather cleaner label.
- Clean the carpets. If your car has carpeted floors, use a carpet cleaner to remove dirt, stains, and odors. Be sure to follow the instructions on the carpet cleaner label. Alternatively, you can use a steam cleaner to remove tough stains.
- Clean the floor mats. Vacuum the floor mats thoroughly. If they’re stained, you can wash them in the washing machine.
- Clean the door panels. Wipe down the door panels with interior detailer. Be sure to get into all the crevices.
- Clean the center console. Wipe down the center console with interior detailer. Be sure to get into all the crevices.
- Clean the sun visors. Remove the sun visors from the car and vacuum them thoroughly. Then, wipe them down with interior detailer.
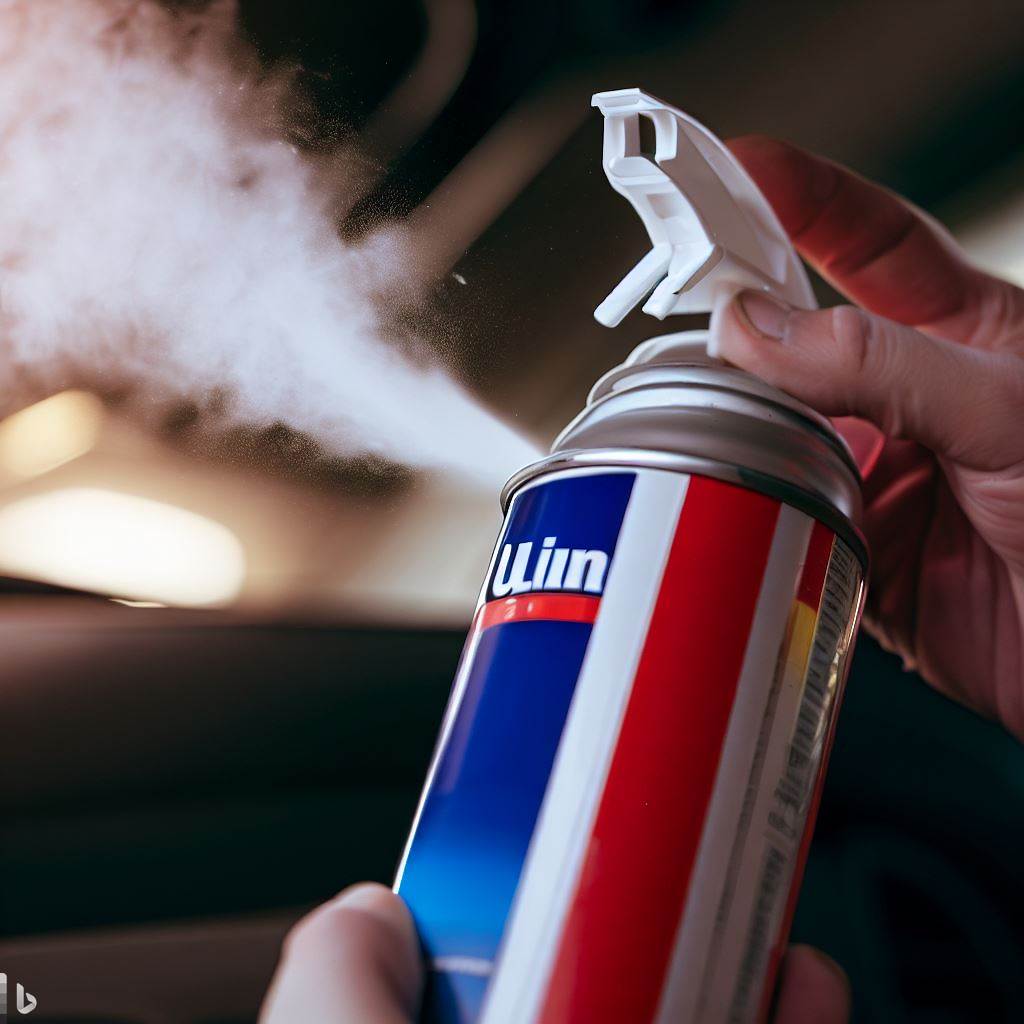
- Clean the air vents. Use a can of compressed air to blow out the air vents. Then, wipe them down with interior detailer.
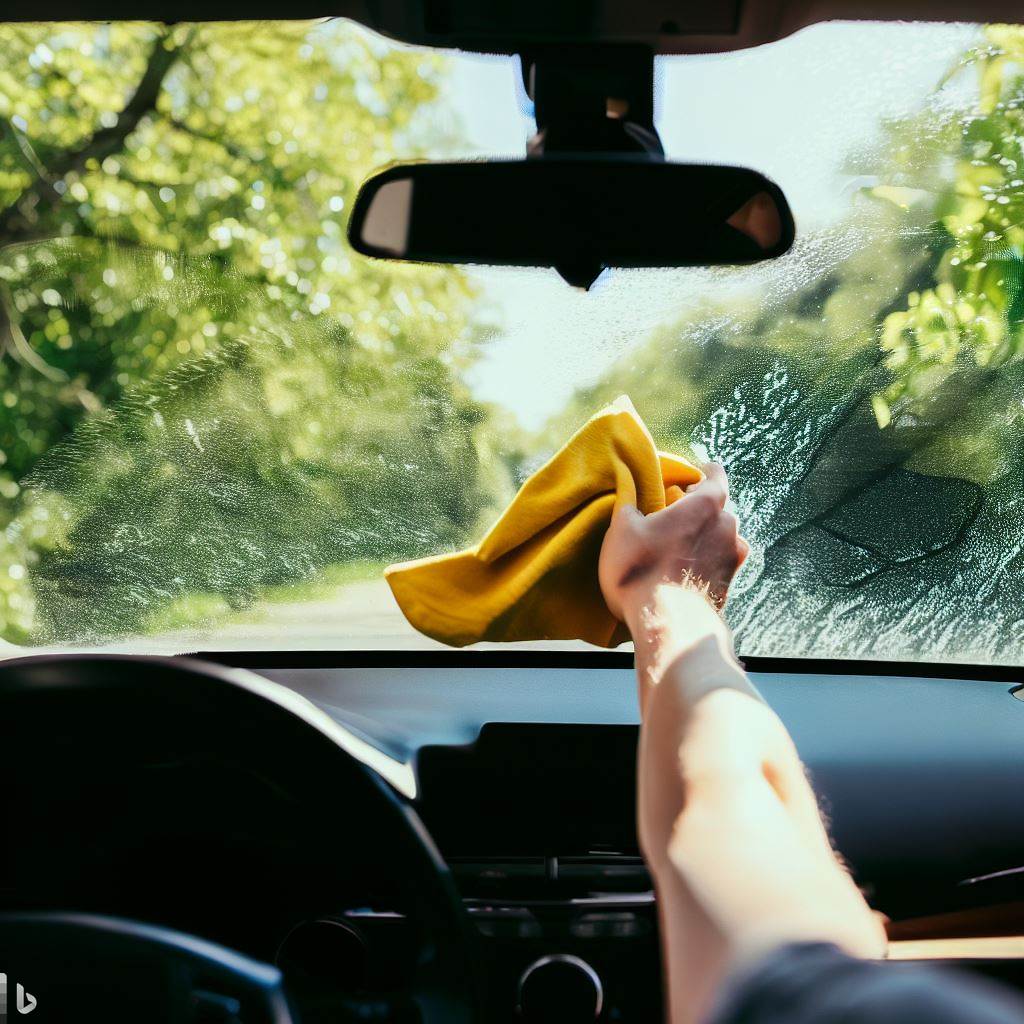
- Clean the windows. Start from the top and work your way down, wiping the windows with window cleaner. Be sure to dry the windows completely before driving the car.
Common Mistakes to Avoid
- Using harsh chemicals or abrasive cleaners. These can damage your car’s interior.
- Oversaturating the microfiber cloths with cleaner. This can leave streaks and residue.
- Leaving cleaning products or tools in the car after you are finished detailing it. This can attract dirt and dust.
Tips for a Professional Finish
- Take your time. Don’t rush through the detailing process.
- Use the right tools and products. This will help you to get the best results.
- Be gentle on the surfaces. Don’t scrub too hard, or you could damage them.
- Be aware of the different materials in your car’s interior. Some materials, like leather, require special care.
- Use a protectant to help the materials last longer.
Conclusion
DIY interior detailing is a great way to keep your car’s interior looking and feeling its best. It’s also a relatively easy process that can be done in a few hours. By following the steps in this blog post, you can get a professional finish on your DIY interior detailing and make your car’s interior look and feel like new.

I hope you found this blog post helpful!

Here are some additional tips for getting a professional finish on your DIY interior detailing:
- Use a variety of microfiber cloths for different tasks. For example, use a soft, lint-free cloth for wiping down surfaces and a more absorbent cloth for cleaning up spills.
- Apply the cleaner or protectant in small sections and work your way outwards. This will help to prevent streaks and uneven results.
- Buff the surfaces after cleaning or applying protectant to remove any residue.
- Be sure to dry the surfaces completely after cleaning or applying protectant. This will help to prevent the formation of water spots.
- Take your time and be patient. DIY interior detailing takes time and effort, but it’s worth it to have a clean and well-maintained car interior.
I hope these tips help you to get a professional finish on your next DIY interior detailing project!