Build an Affordable IKEA Kitchen Island with Storage Using Their Kitchen Components
As a homeowner, I understand the desire to customize your space. The kitchen is often the heart of a home, where family and friends gather. Having an island can maximize your kitchen’s functionality and style. But islands are expensive, often costing thousands of dollars. As someone eager to take on DIY projects, I set out to build my own quality island on a budget using IKEA products. This experience taught me that with IKEA’s affordable options, you can create a customized kitchen island without breaking the bank. In this article, I’ll walk through how to assemble an IKEA island that fits your cooking needs.
The Benefits of a DIY IKEA Kitchen Island
An island can be a game changer for your kitchen. Here are some of the benefits a DIY IKEA island offers:
- Added prep space and storage – Gain extra counter area and incorporate cabinets or shelves for keeping items accessible but out of the way.
- Flexibility in design – Choose from IKEA’s wide range of styles and sizes to create an island tailored to your space.
- Seating space – Many islands double as a breakfast bar or casual dining area.
- Enhanced workflow – Position an island near the cooktop or sink for better kitchen work triangle flow.
- Cost savings – IKEA products provide quality and durability at budget-friendly prices.
With some planning and elbow grease, you can build the IKEA island of your dreams while sticking to your budget. Let’s look at how to make it happen.
IKEA Products to Use for Your DIY Kitchen Island
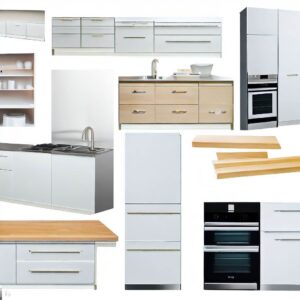
One of the best things about using IKEA products is the modular components designed to work together. Here are some IKEA items that are ideal for island building:
Base Cabinets and Drawers
IKEA’s SEKTION base cabinets come in a variety of sizes to suit your needs. They feature adjustable legs. Pair them with deep drawers like MAXIMERA for storing kitchen tools and bakeware.
Countertops
For countertop material, the KARLBY butcher block is a popular choice that comes pre-finished. Or opt for a stain-resistant laminate like EKBACKEN.
Legs and Mounting Plates
CAPITA legs offer a sturdy stainless steel base that’s height adjustable. For a lighter island, use METOD mounting plates to attach the cabinets.
Doors and Hinges
MAXIMERA doors come with integrated handles for a sleek, modern look. For more traditional style, pick framed doors like BODBYN. Use self-closing hinges like ENERYDA.
Pulls and Handles
IKEA offers plenty of handle options like the popular RATIONELL style. Go for brushed steel for contemporary or ceramic knobs for a cottage vibe.
Tools and Materials Needed
In addition to the IKEA components for building your island, you’ll need the following tools and supplies:

- Power drill (A cordless drill provides flexibility to work anywhere.)
- Screwdrivers (Choose ones with magnetic tips to avoid dropping screws.)
- Measuring tape (Get an extra long tape for measuring big pieces.)
- Level (Models with rare-earth magnets give the most accuracy.)
- Wood glue (Gorilla glue is ideal for gaps as it expands.)
- Sandpaper (High grit around 150 minimizes scratches.)
Safety gear like eye protection, ear plugs, and a dust mask are also recommended. Having the right tools will make assembling your IKEA island go smoothly.
Instructions for Assembling Your IKEA Kitchen Island
Now comes the fun part of bringing all the components together into your custom island. Here are the step-by-step instructions:
1. Measure Your Space and Plan the Design
First, assess the room in your kitchen for the island placement. Make sure to account for traffic lanes, walls, ceilings lights and vents. Then map out the island size and features you want to include.
2. Purchase IKEA Components
Use your plan to compile a detailed list of everything you need from IKEA. This will minimize extra trips to the store. Ask for assistance loading large flat pack boxes into your vehicle.
3. Cut the Countertop to Size
Rent a wet saw to cut your countertop neatly to the dimensions required. Always measure twice and cut slowly. Round and sand the cut edges.
4. Attach Cabinets Together
Lay out the cabinets and pre-drill pilot holes to attach them together to form the base. Use wood glue for stability and clamps to hold in place while screws are driven in.
5. Install the Countertop
Position the countertop on top of the cabinet base. From underneath, screw brackets into the cabinets to securely attach the countertop. Apply granite sealer for protection.

6. Add Legs and Secure the Island
Attach the legs or mounting plates using the hardware included. Check for level and use provided levelers under legs for stability.

7. Attach Doors and Hardware
Hang doors and drawers on their hinges and slides. Adjust alignment as needed. Install handles and pulls using a drill for a snug fit.
8. Seal the Countertop
Use waterproof sealant made for countertops to protect from moisture damage and staining.
DIY Island Design Ideas
An IKEA island offers lots of possibilities to match your personal style:
Mobile Island with Casters
Add wheels or casters to create an island that can move where needed for extra flexibility.
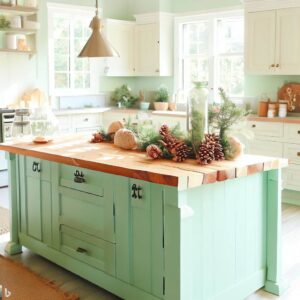
Farmhouse Style with Shiplap
Give a rustic vibe by using shiplap boards on the base cabinets and a butcher block top.
Modern with Integrated Seating
For small kitchens, build seating right into the island for space savings.
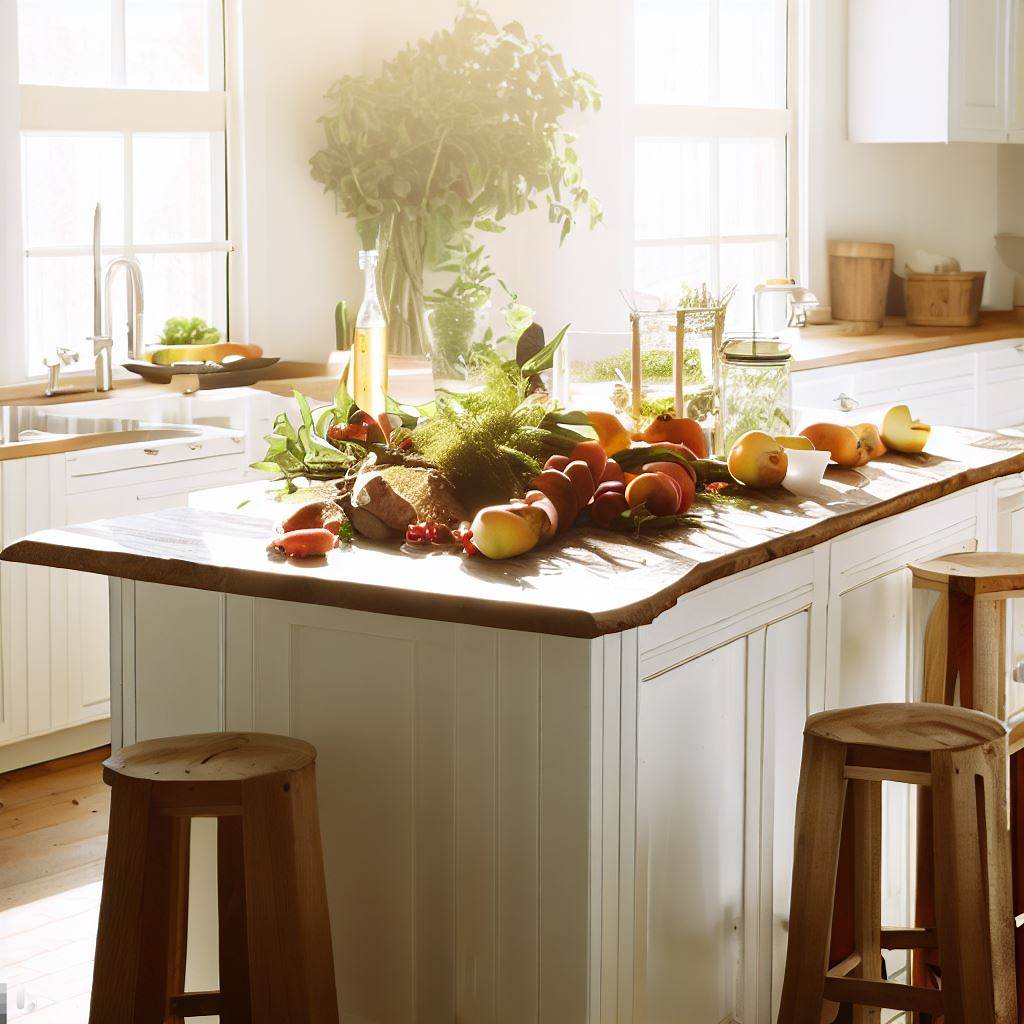
Rustic Wood Countertop
Choose a live edge natural wood slab for an organic, eco-friendly look.

The possibilities are endless when building your own island from IKEA parts. Add the features and finishes that match your personal taste.
Conclusion
Creating your own kitchen island can be incredibly rewarding. By using affordable components from IKEA, you can build a high quality, customized island without going over budget. Follow the instructions to assemble an island tailored to your cooking and entertaining needs. With the right planning and tools, you can gain beautiful and functional extra counter and storage space.
I hope this DIY IKEA island guide has inspired you and given you confidence to tackle your own project. The money saved compared to buying a pre-made island is worth the bit of extra effort. And you gain the pride of creating something with your own two hands.

Do you have an IKEA island in your kitchen? I’d love to see photos and hear tips on your build!